Hey there! Did you know that adding depth and texture to your home painting can make a huge difference in the overall look and feel of your space? Well, with ‘The Ultimate Guide to Color Layering for Depth and Texture in Home Painting’, I’m here to help you achieve just that! In this guide, I’ll walk you through everything you need to know about selecting the right color palette, understanding color layering techniques, and preparing your walls for color layering. We’ll also dive into creating depth and texture with base coats, adding dimension with layered tinted glazes, and even using stencils and patterns for artistic effects. And of course, we’ll cover the important finishing touches like sealing and protecting your color layers. So let’s get started and give your home painting a whole new level of depth and texture!
Key Takeaways
- Selecting the right color palette based on personal preferences and current design trends is important for achieving the desired look and feel.
- Color layering techniques involve applying multiple layers of paint in different shades and tones to create a gradient effect and visually appealing textured surfaces.
- Preparing the walls by cleaning, priming, and repairing any cracks or holes is crucial for a smooth and long-lasting finish.
- Base coats are used as a foundation for layers of color and texture, and experimenting with painting techniques like sponging or ragging can create interesting effects.
Selecting the Right Color Palette
When selecting the right color palette for my home painting project, I frequently rely on my personal preferences and current design trends. However, it’s important to also consider color matching techniques and experimenting with different paint finishes to achieve the desired look and feel. Color matching techniques involve finding colors that complement each other and create a harmonious atmosphere in the space. This can be done by using color wheels, swatches, or even digital tools that help identify complementary or analogous colors. Additionally, experimenting with different paint finishes can add depth and texture to the walls. Matte finishes create a smooth and elegant look, while satin finishes offer a subtle sheen. Glossy finishes, on the other hand, provide a high-shine and reflective surface. By considering these factors, I can confidently choose a color palette that not only reflects my personal style but also promotes a safe and enjoyable environment in my home.
Understanding Color Layering Techniques
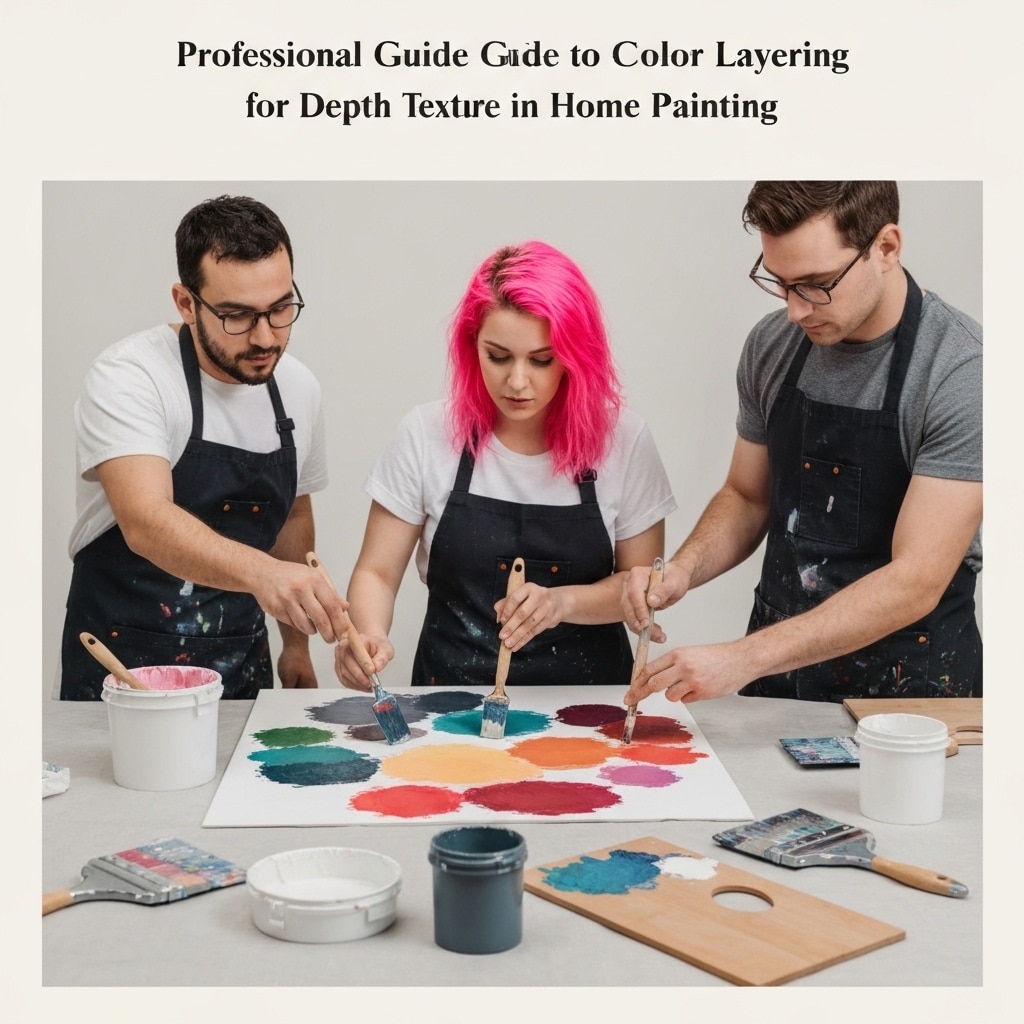
To achieve depth and texture in home painting, it is essential to understand the techniques of color layering. Color layering techniques involve applying multiple layers of paint in different shades and tones to create a sense of dimension and richness. One effective technique is to start with a base color and then gradually build up layers using lighter or darker shades of the same color. This creates a subtle gradient effect that adds depth to the surface. Another technique is color blending, where two or more colors are mixed together to create a new shade. This can be done by blending the colors directly on the surface or by mixing them on a palette before applying. Understanding these color layering techniques allows for the creation of visually appealing and textured painted surfaces in the home.
Preparing Your Walls for Color Layering
Before starting the color layering process, it is crucial to properly prepare your walls. Start by cleaning them thoroughly and applying a primer to ensure a smooth and even surface. Next, inspect for any imperfections such as cracks or holes, and repair them before proceeding. Finally, choose a base color that will serve as the foundation for your color layering technique.
Clean and Prime Walls
I always make sure to thoroughly clean and prime my walls before starting the color layering process, using a high-quality primer to ensure a smooth and long-lasting finish. It’s important to start with a clean surface, so I begin by removing any dirt, dust, or cobwebs from the walls. I use a damp cloth or sponge to gently wipe down the walls, being careful not to damage the paint or plaster. If there are any imperfections or rough areas on the walls, I sand them down to create a smooth surface. Once the walls are clean and smooth, I apply a coat of primer to create a strong bond between the wall and the paint layers. This helps the colors to adhere better and prevents any peeling or chipping in the future. By taking the time to properly clean and prime the walls, I can ensure a beautiful and durable color layering result.
Repair Any Imperfections
First, assess the walls for any imperfections that need to be repaired before proceeding with the color layering process. Wall repair is an essential step in ensuring a smooth and flawless finish for your home painting project. Start by inspecting the walls for any cracks or holes that need patching. These imperfections can be caused by settling, temperature changes, or general wear and tear. To patch cracks, use a putty knife to apply a thin layer of spackling compound over the damaged area. Smooth it out and let it dry completely before sanding it down for a seamless surface. Remember to wear safety goggles and a dust mask when performing wall repair to protect yourself from any potential hazards. Taking the time to properly repair any imperfections will result in a professional-looking color layering outcome.
Choose Base Color
To prepare my walls for color layering, I select a base color that will serve as the foundation for the rest of the painting process. It is important to choose a base color that complements the overall aesthetic of the room and creates a harmonious backdrop for the layers of color to come. When selecting paint finishes, I prioritize safety by opting for low or no VOC (volatile organic compounds) options. These paints are less harmful to the environment and have minimal impact on indoor air quality. Additionally, I experiment with color samples to ensure that the chosen base color works well with the other colors that will be layered on top. This step allows me to visualize the final result and make any necessary adjustments before starting the painting process.
Creating Depth and Texture With Base Coats
One key element in achieving depth and texture in home painting is utilizing base coats. Base coats provide a foundation for the layers of color and texture that will be added later. They create a smooth and even surface for the paint to adhere to, ensuring a long-lasting and professional finish. To create texture with faux finishes, consider using different painting techniques such as sponging, ragging, or stippling. These techniques can add depth and dimension to your walls, making them visually interesting and unique. It is important to always follow safety guidelines when working with paint, such as wearing protective clothing and ensuring proper ventilation in the painting area. By using base coats and experimenting with different painting techniques, you can create depth and texture that will transform your home.
Adding Dimension With Layered Tinted Glazes
I’ll start by discussing the glazing techniques that can be used to add depth and dimension to painted surfaces. Then, I’ll explore the importance of choosing complementary color combinations to achieve the desired effect. Lastly, I’ll explain how layering tinted glazes can create texture and enhance the overall visual appeal of a painted surface.
Glazing Techniques for Depth
Using layered tinted glazes is a powerful technique to add depth and dimension to your home painting. Not only can it enhance the overall look of your walls, but it can also be used to create stunning effects on furniture and ceramics. When it comes to glazing techniques for furniture, it’s important to choose a glaze that is safe to use on wood and other materials. Look for water-based glazes that are non-toxic and easy to clean up. For ceramics, consider using glazes that are food-safe and lead-free, especially if you plan on using them for functional pieces like plates or mugs. Always follow the manufacturer’s instructions and take proper safety precautions when working with glazes to ensure a successful and safe project.
Choosing Complementary Color Combinations
To achieve dimension and depth in your home painting, I’ll guide you through choosing complementary color combinations that add vibrancy and visual interest through layered tinted glazes. Understanding color theory and color psychology is crucial in creating harmonious and visually appealing spaces. Complementary colors are pairs of colors that are opposite each other on the color wheel, such as blue and orange or red and green. These combinations create a sense of balance and contrast, enhancing the overall depth and dimension of your painting. Layering tinted glazes in these complementary colors adds richness and complexity to your walls, giving them a textured and multidimensional look. When selecting your color combinations, consider the mood and atmosphere you want to create in your space, as different colors evoke different emotions. By consciously choosing complementary colors, you can transform your home into a visually captivating and harmonious environment.
Creating Texture With Layers
To create texture with layers and add dimension to your home painting, I utilize the technique of applying layered tinted glazes. This method allows me to create a depth and texture that adds visual interest to any space. When creating texture with paint, it’s important to experiment with different application techniques to achieve the desired effect. For example, using a stippling brush or a sponge can create a textured look, while a dry brush technique can add subtle dimension. It’s essential to ensure safety when working with paint, so always wear protective clothing, use proper ventilation, and follow the manufacturer’s instructions. By creating texture with paint and experimenting with different application techniques, you can transform your walls into a work of art while maintaining a safe environment.
Using Stencils and Patterns for Artistic Effects
I love experimenting with stencils and patterns to create unique and artistic effects in my home paintings. Stencil designs are a great way to add intricate details and depth to your artwork. When using stencils, it’s important to consider pattern placement to achieve the desired effect. Before starting, make sure to secure the stencil firmly in place to prevent any accidental shifting. I recommend using low-tack tape or stencil adhesive to keep it in position. Take your time and apply the paint evenly and carefully, ensuring that it doesn’t bleed under the stencil. Remember to clean your stencil after each use to maintain its quality and prolong its lifespan. Using stencils and patterns can truly elevate your home paintings and add a touch of creativity to your space.
Finishing Touches: Sealing and Protecting Your Color Layers
How can we ensure the longevity and durability of our color layers in home paintings? One of the key steps in protecting paint layers is through proper sealing techniques. Sealing helps to prevent damage caused by moisture, UV rays, and general wear and tear. To seal your color layers effectively, you can use a clear coat or varnish specifically designed for this purpose. These products create a protective barrier that shields the paint from external elements. Make sure to apply the sealant evenly and follow the manufacturer’s instructions for drying time. Additionally, consider using a primer before applying your color layers to enhance adhesion and provide an extra layer of protection. By implementing these sealing techniques, you can safeguard your color layers and enjoy your beautifully painted surfaces for years to come.